Sunday, July 24, 2016

Starting the Building Pads

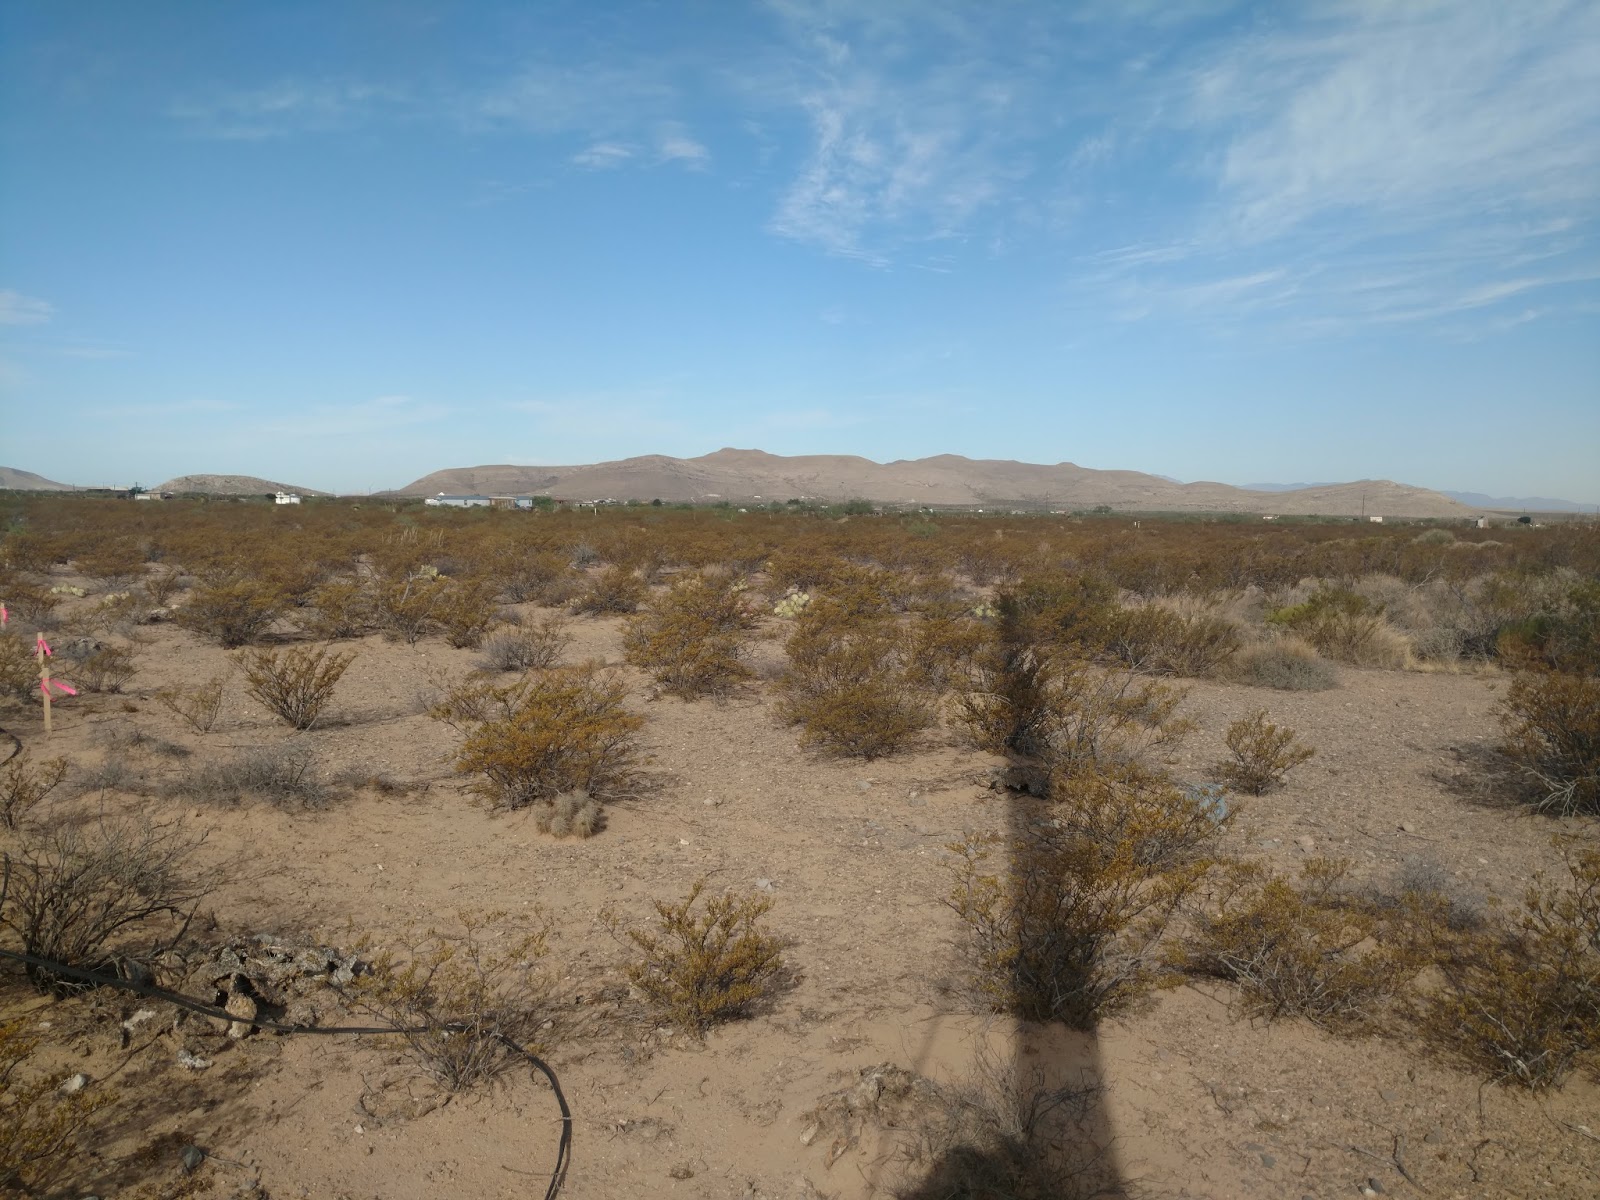
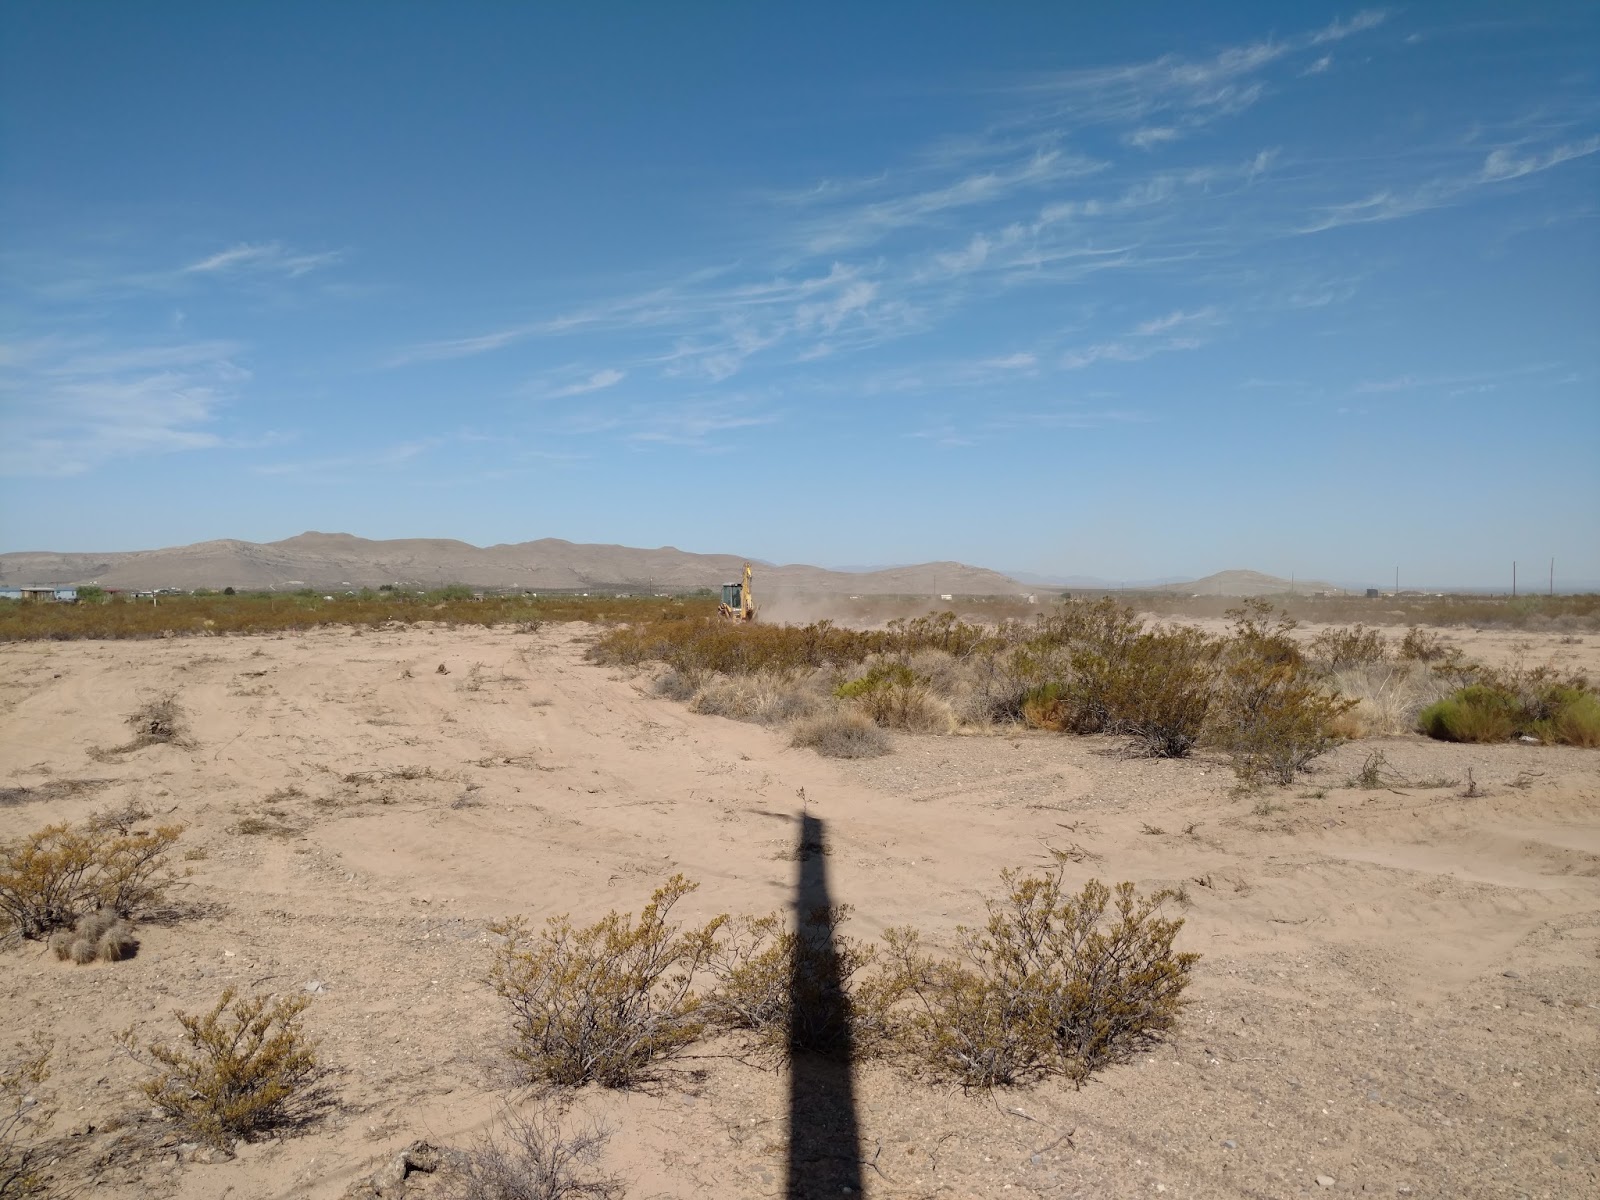
Now that the ponding area is done, we can start prepping our pad areas for our foundations. The grading drawings required us to build up quite a bit, as you can see below.

Corner of our house, with Beth and North Mountain in the background.

That stake with the neon green string used to stick out of the ground about 12". It's now buried, and the lower blue flag on the rebar is 4447', the upper blue flag is 4448'. We need to raise it up to 4448' total elevation.

Another corner of our house, with Beth and North Mountain in the background.
We're hauling in dirt to do most of this part, because of how bad our existing dirt is. You can see how low this side of the house is too. It will need to be filled in a bunch, some with existing dirt, but mostly with the better dirt.

Now we wait for dirt to get delivered.

Tuesday, July 19, 2016

Digging the Pond

After getting our land cleared, I went out and placed stakes around the pond perimeter. I also contacted our engineer because I didn't want to haul in 1000 cubic yards of dirt either. He made a field decision to increase the ponding, both in width and depth (now 2', instead of 0"). So back out I went to restake the pond area.

One big problem I ran into was identifying the locations of things on our site plan. I had a PDF copy, and I knew the scale, but I didn't have the CAD file so I had to do all the measurements manually. I initially just measured things on my paper copy using my tape measure, which worked fairly well, but it was slow. Eventually, I converted the PDF to a PNG using Inkscape (excellent free software!) and then imported it into ImageJ.

ImageJ works well for measuring microscopy images, but it worked well here too. I set my scale and then picked specific points I knew (for example, one corner of our cleared area). Then I measured the distance from that point to every corner of the pond. Once I did this with at least two reference starting locations, I could triangulate all of the ponding corners. I bought a 300' tape measure, and used a 9" nails to hold the end at my reference point, then walked out the needed distance. Since I didn't know exactly where I needed to stop, I drew an arc in the dirt at my given distance (eg, the pond length was 170', so I staked the tape measure at one corner, walked 170', then drew about a 20' long arc at 170' away). I then moved my reference to my second point, walked out the distance, and found where it intersected my arc. This method worked reasonably well, considering I was working alone, but I ran into some accuracy issues.

I also didn't realize I needed really tall stakes so we could mark the elevations. Luckily, Mario Cardenas brought a bunch when he came to do the grading, and we surveyed and staked everything again. The entry at our driveway is about 4448' in elevation. We put blue flags at this 48' elevation on all of our posts.
This stake is at the pond, and that flag is about 4' off the ground! This is before digging the pond!

Mario worked his butt off digging up our dirt and moving it around.


Another huge problem was that our dirt is very fine, so it blew away easily and caused massive dust clouds. These clouds clogged the radiators and air filters multiple times. You can somewhat see the dust clouds trailing the Bobcat.

Leveling the ground near the garage

Digging the pond

Saturday, July 9, 2016

Lot Clearing

Today was a devastating day. We had to destroy half an acre of plants on our lot, along with any critter burrows. Here's what it looked like before clearing:

Pre-clearing

We hired Martin Pantoja to do the clearing, and he'll also do our septic once we get our certificate of compliance.
The bulldozer getting unloaded with North Mountain, Hueco Tanks, in the background

Bulldozer in action, tearing up the plants. North Mountain in background.

An hour into the action

About 80 minutes in

About an hour and a half

Nearly two hours in

All done!
Next thing to do: Start staking everything for the ponding.

Friday, July 1, 2016

Grading and Drainage Plan Approved!

Finally! Only three months later (even though we were told two weeks), we now have our county-approved grading and drainage plan. Quite the birthday present.

Unfortunately, that's about half an acre we have to clear. We also have to include a 9" deep pond that is about 200' long. Kinda ridiculous, eh? But it's approved and we can finally really start breaking ground.

Another problem is that this plan calls for almost 1000 cubic yards of dirt to be hauled in (nearly 2,000 tons)! Yay engineering.

Now it's time to start staking everything out.

Tuesday, April 26, 2016

Final Building Layout

We have made some major tweaks on our building plans. Originally, we were going to have two houses, one for us and one for guests. Due to Deed Restrictions (seriously, how can someone that owned the land 25 years ago dictate what we do on it now?), we can only have one residence. So we kind of squished our two houses together:


Revit is actually pretty fun to use (except for sloped pipe work)! Here's our updated site plan too.


Monday, April 4, 2016

First Post!

Here's our first post on documenting our construction project for Blue Lizard Climbing and Yoga. I'm pre-dating it, because I've been lazy and haven't gotten around to posting these yet...

We initially planned to start clearing out lot and pouring our foundations now. Unfortunately, we hit a snag at the El Paso County Roads and Bridges office (I could write a book on our experiences with them). Out in the county, there aren't building permits. The only thing that does need a permit is the septic. And in order to get a septic permit, we needed a "Certificate of Plat Compliance" (or cert for short) for our land.

So off I went to Roads and Bridges to pick up our cert. The cert does a lot of things. It gives you an actual street address. It also allows you to connect your utilities. Oddly, there is some circular logic here. If you read the El Paso County webpage on this then it tells you that you need the following in order to get a cert:
  • Legal description (eg, warranty deed)
  • Proof of potable water ("such as a copy of a current water utility bill... [or] Certified letter from a certified laboratory indicating the [private] water [well] is of sufficient quality and quantity."
  • Proof of sewer service ("such as a copy of a current sewer utility bill") or a septic system (with a form "indicating the septic system has been registered or inspected by the El Paso City-County Health and Environmental District")
Now did anyone notice that? You must have a cert to connect utilities. But, in order to get a cert, you must show proof of water and sewer/septic service. Our land has neither water nor sewer service available, and even if it were an option, we can't get either until we get a cert. So how the hell does one ever actually get a certificate of plat compliance?!

I went to Roads and Bridges with just our warranty deed, since we didn't have anything else. Everything seemed fine at first, and it looked like we were about to get our cert. Louis Rodriguez even asked whether we wanted our address to be on Woodrow or on Old Butterfield (we chose Old Butterfield). But just before Louis went off to print our cert, he came back and told me that we couldn't have one yet. We have a small slice of an arroyo on part of our property, well away from where we planned our foundations, but because part of our land was in a 100 year flood plain, we needed a grading and drainage plan first. I asked him how we got one, and he said to look for a civil engineer that can draw one up. Great, more expenses...

So I got home and called around. I asked some friends and contractors for recommendations, and ultimately went with Del Rio Engineering. Sal Massoud said it would cost about $2,000 and take about two weeks. More than we wanted to spend, but not that bad. And two weeks seemed reasonable too. I asked him to get us a contract and we'd start right away!

Sorry, no real photos for this one. How about the layout of our initial building design? Beth and I worked on these for a while and settled on this one. It allows all the bedrooms to view North and/or West Mountain! We decided to go with a steel building (blue side panels, silver roof).